Phalaenopsis Orchids: Care, Roots, and Getting a Second Bloom
The supermarket orchid is not a disposable plant, and it is not difficult. It just needs the opposite of what a houseplant needs: bark instead of compost, drying roots, and a cold autumn to flower again.
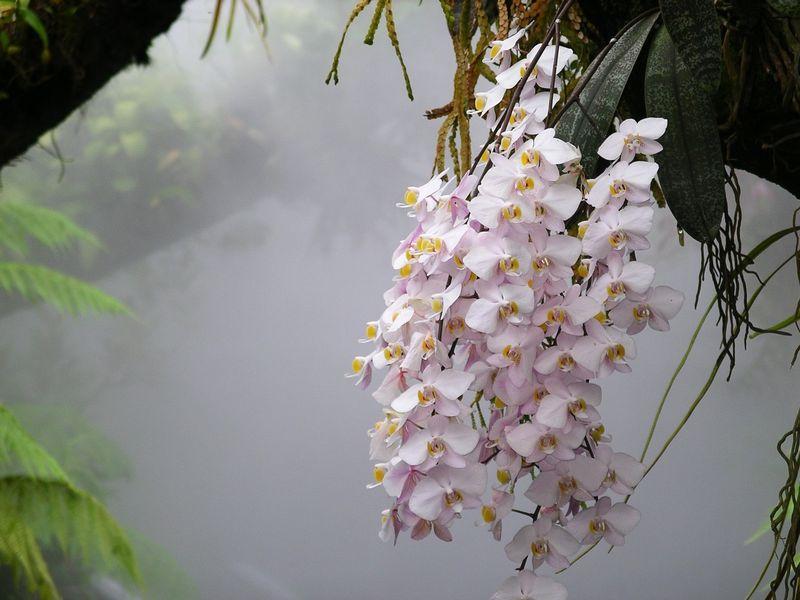
Photo: Phalaenopsis by Unknown author · CC BY-SA 3.0 · via Wikimedia Commons
01Start by understanding where it grows
Phalaenopsis species grow attached to tree trunks and branches in the humid forests of Southeast Asia, with their roots clamped to bark and hanging in open air. They are not parasites — the tree is furniture, not food. Rain soaks them, and within hours the roots are dry again in moving air.
Every piece of orchid care that seems strange follows from that. The medium is chunky bark because roots need air around them. Watering is a thorough drenching followed by real drying. The pot is often clear, because the roots photosynthesise and are used to light. And nothing about the plant is adapted to sitting in wet compost, which is why an orchid potted like a houseplant dies within months.
The roots themselves are the giveaway. They are coated in velamen, a spongy white layer that absorbs water fast and then dries, protecting the living core inside. That coating is why a dry root looks silver and a wet one looks green — you are seeing water in the velamen, not the root itself.
02Light, temperature and where to stand it
Phalaenopsis wants bright indirect light — an east window is close to ideal, a north window works, and a south or west window needs a sheer curtain. Direct midday sun through glass burns the leaves in a single afternoon, leaving black or bleached patches that never heal.
The leaves tell you whether you have it right. A well-lit Phalaenopsis has mid-green, slightly olive foliage. Dark, glossy, deep green leaves look healthy to most people but actually indicate too little light — and a plant with them will keep growing leaves and never flower.
Normal room temperature suits it all year: roughly 18–26°C by day. The exception is autumn, which matters enormously and is covered below.
Humidity of 40–60% is comfortable, so a kitchen or bathroom windowsill is often the best spot in a home. It copes with less, but the flower buds are the first thing to suffer in very dry air — bud blast, where developing buds yellow and drop, is usually dry air, a draught, or a sudden move.
03Watering: soak, drain, then wait
Water thoroughly, at the medium, until it pours out of the bottom of the pot — then let the whole thing drain and empty the outer cachepot completely. In a bark mix in an average room that works out at roughly every 7–10 days in summer and every 10–14 in winter, but check the roots rather than counting.
Do not use ice cubes. The practice is popular because it delivers a small measured amount, but tropical epiphyte roots are not adapted to cold, and it waters a fraction of the medium while leaving the rest dry.
Water in the morning and pour at the edge of the pot rather than over the plant. Water that collects in the crown — the tight point where the leaves meet — sits there, and in a cool room it rots the growing point. If you do splash it, blot it dry with kitchen paper.
Feed weakly and often: a balanced orchid fertiliser at quarter to half strength every second or third watering while the plant is in active growth, and roughly monthly in winter. Flush the pot with plain water every month or so to carry away accumulated salts, which bark holds poorly and roots resent.
| What you see | Meaning | Action |
|---|---|---|
| Silvery-white roots | Dry — ready for water | Water thoroughly |
| Plump green roots | Recently watered | Wait |
| Brown, flat, hollow roots | Dead, from rot or prolonged drought | Cut away at the next repot |
| Wrinkled, leathery leaves | Root loss — the plant cannot take water up | Check roots; usually rot, not thirst |
| Dark glossy green leaves, no flowers | Too little light | Move brighter |
| Red or purple tinge on leaves | Strong light, at the upper limit | Fine, but move back if patches appear |
04Getting it to flower again
This is where most people give up, usually after feeding the plant heavily and waiting. Phalaenopsis does not initiate a flower spike in response to nutrition. It initiates one in response to a sustained drop in night temperature, which in the wild signals the end of the growing season.
The practical recipe: from about September, give it night temperatures of roughly 13–16°C, with normal daytime warmth, for four to six weeks. A windowsill in an unheated room, a porch, or a conservatory does this naturally. A spike usually appears four to eight weeks later, emerging from the base of a leaf and looking distinctly different from a root — flatter, mitten-shaped at the tip, and growing upwards rather than outwards.
Keep the light bright throughout and keep feeding lightly. Once the spike appears, do not move the plant, and do not rotate it. Phalaenopsis orients its buds to the light source, and turning the pot mid-development produces a twisted spike or dropped buds.
Support the spike with a stake and a clip once it is 15 cm or so, clipping loosely below the developing buds. Expect eight to twelve weeks from spike to open flower, and then two to four months of bloom.
- After flowering, on a green spike — Cut just above the second or third node from the base — the small triangular bumps under papery sheaths. A side branch of flowers often develops from the node below the cut within a couple of months.
- After flowering, on a browning spike — Cut it off at the base. A dried spike will not rebloom, and leaving it costs the plant nothing but looks untidy.
- If the plant looks weak — Cut the spike off entirely, regardless of its colour. Flowering is expensive, and a plant with few healthy roots should be building leaves and roots instead.
05Repotting, which is not optional
Bark breaks down. After 18 months to two years it has decayed into something that holds water like compost, and at that point the roots begin to suffocate and rot even if you have watered perfectly. Repotting an orchid is really about replacing the medium, not about pot size.
Do it every one to two years, ideally just after flowering when new roots are starting. Slide the plant out, crumble away all the old bark, and trim off every root that is brown, flat or hollow — a healthy root is firm and springy, whatever its colour.
Choose a pot barely larger than the root mass. Orchids flower better tight, and a large pot holds a volume of wet bark the roots never reach. Clear plastic pots make the root check easy and let the roots photosynthesise; a decorative outer pot hides them if you prefer.
Use a medium-grade orchid bark, optionally with some perlite or charcoal. Work it in around the roots with your fingers, tap the pot to settle it, and do not press it down hard — you are trying to leave air spaces, not eliminate them. Wait about a week before watering, so cut roots can seal.
Aerial roots that were never in the pot should stay out of it. They are doing their job in the air, and forcing them into bark usually rots them.
Frequently asked questions
- Is it a spike or a root?
- Roots are round in cross-section, blunt-tipped, and grow outwards or down. Spikes are flattened, mitten-shaped at the tip, come from between the leaves, and grow upwards toward the light.
- My orchid has not flowered in two years. What is wrong?
- Almost always light or the missing autumn temperature drop. Check the leaf colour first — if it is dark glossy green, move the plant brighter, then give it cool nights in autumn.
- The lowest leaf turned yellow and fell off. Is that bad?
- One lower leaf a year is normal ageing. Several at once, or yellowing that starts in the middle of the plant, points at root rot or crown rot instead.
- Should I mist my orchid?
- No. Misting adds little humidity and risks water sitting in the crown and between the leaves. A humidity tray or a bathroom windowsill does the job without the risk.
Lan Nguyen
Balcony grower & founding editor
Lan has kept ornamental plants on a 12 m² apartment balcony for eight years, mostly tropical foliage and small-scale bonsai. She writes the care and comparison guides here, and has killed enough plants to be specific about how.
Keep reading
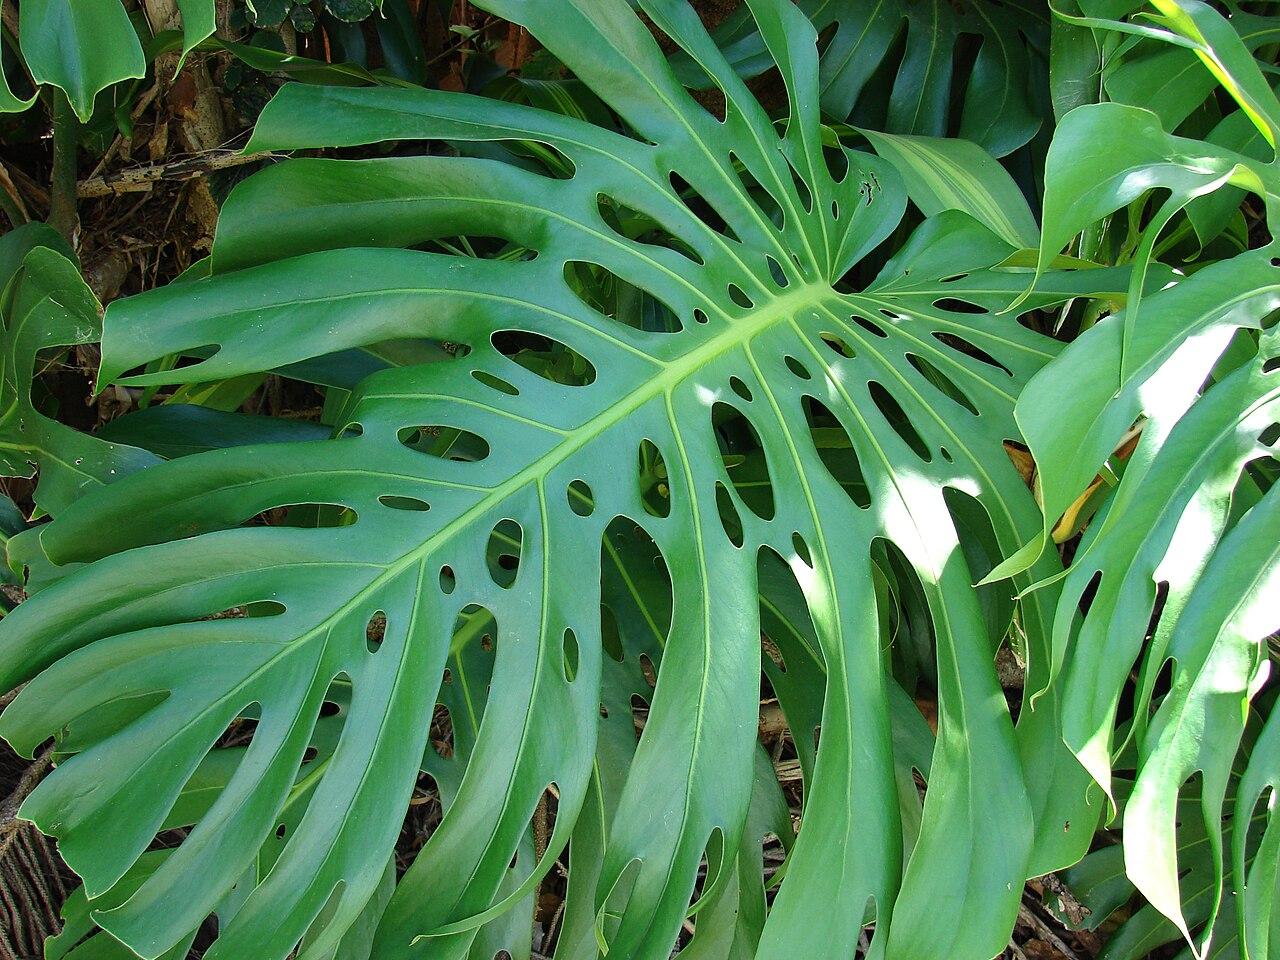
Monstera Deliciosa: How to Actually Get the Holes
The splits are not a matter of waiting. A monstera fenestrates when it is mature enough, lit well enough, and — the part everyone skips — climbing something. Two of those three are in your control.
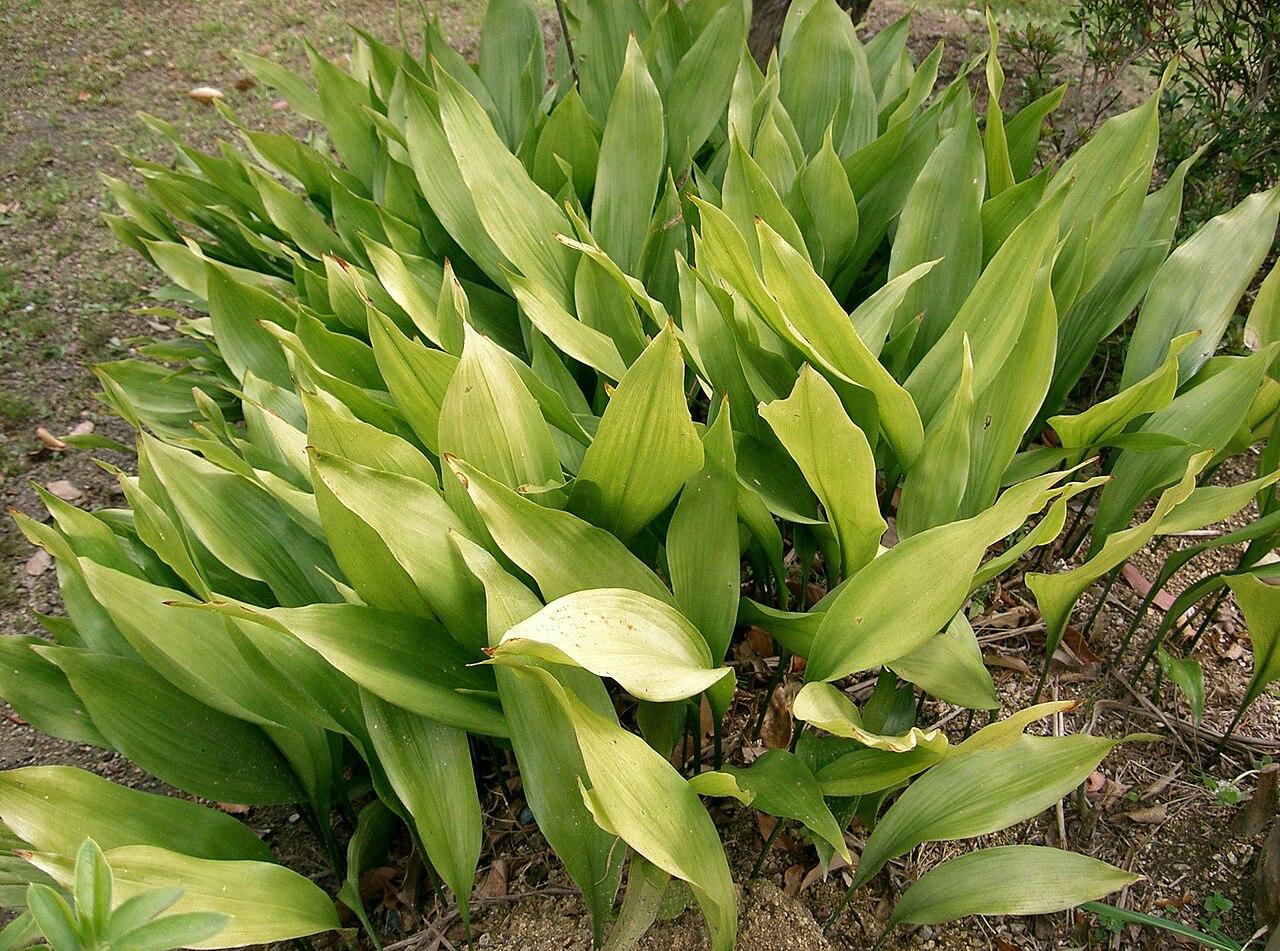
Nine Indoor Plants That Genuinely Tolerate Low Light
Most 'low light' lists are wishful thinking — half the plants on them need a bright window to look like the photo. These nine actually hold up a few metres from the glass.
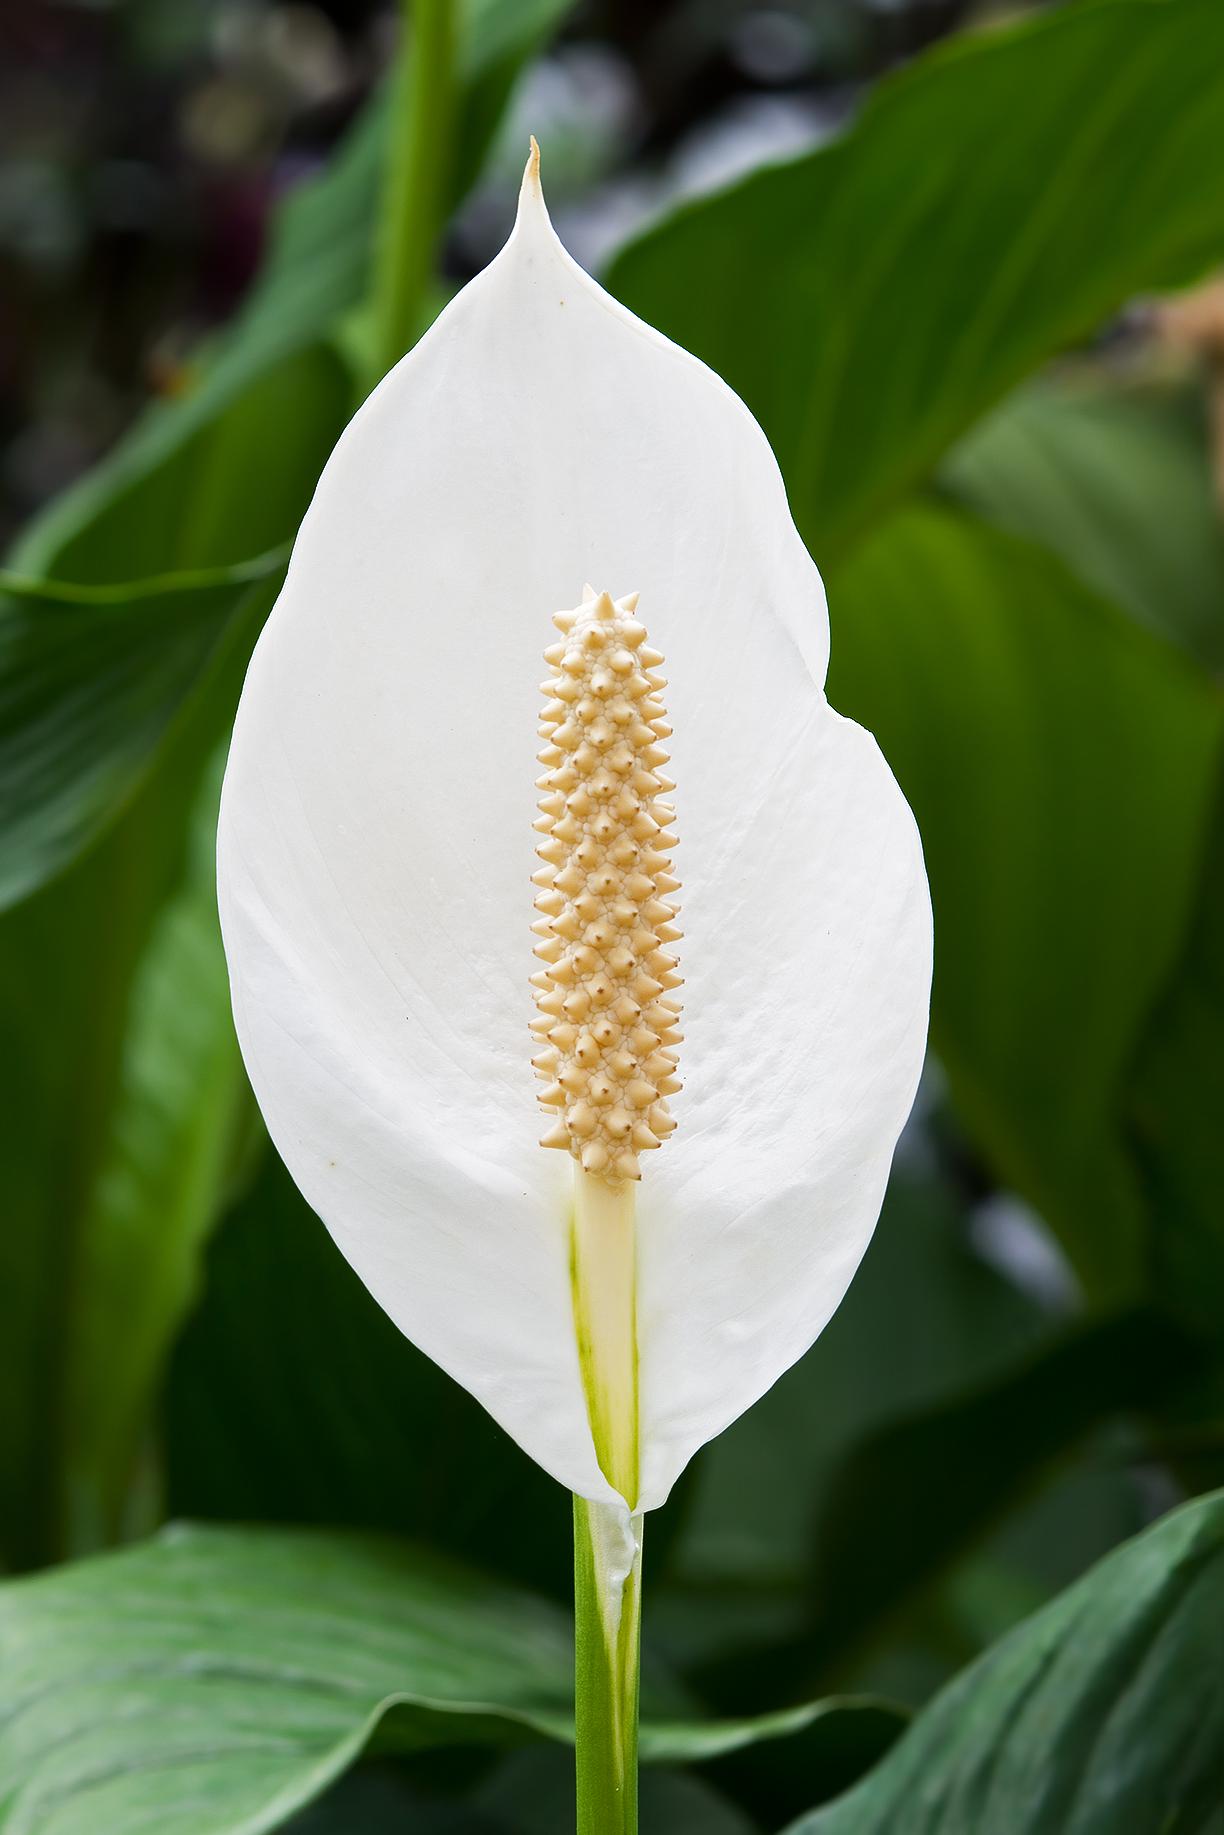
Peace Lily Care: The Plant That Tells You When It's Thirsty
Spathiphyllum droops theatrically the moment it runs low on water and perks back up within hours. That feedback loop makes it the best teaching plant there is — as long as you don't take the drooping as a schedule.