The Gravel Layer Myth: Why It Makes Drainage Worse
Putting stones in the bottom of a pot is the most widely repeated piece of plant advice there is. It has been known to be counterproductive since the 1950s, and the physics is not complicated.
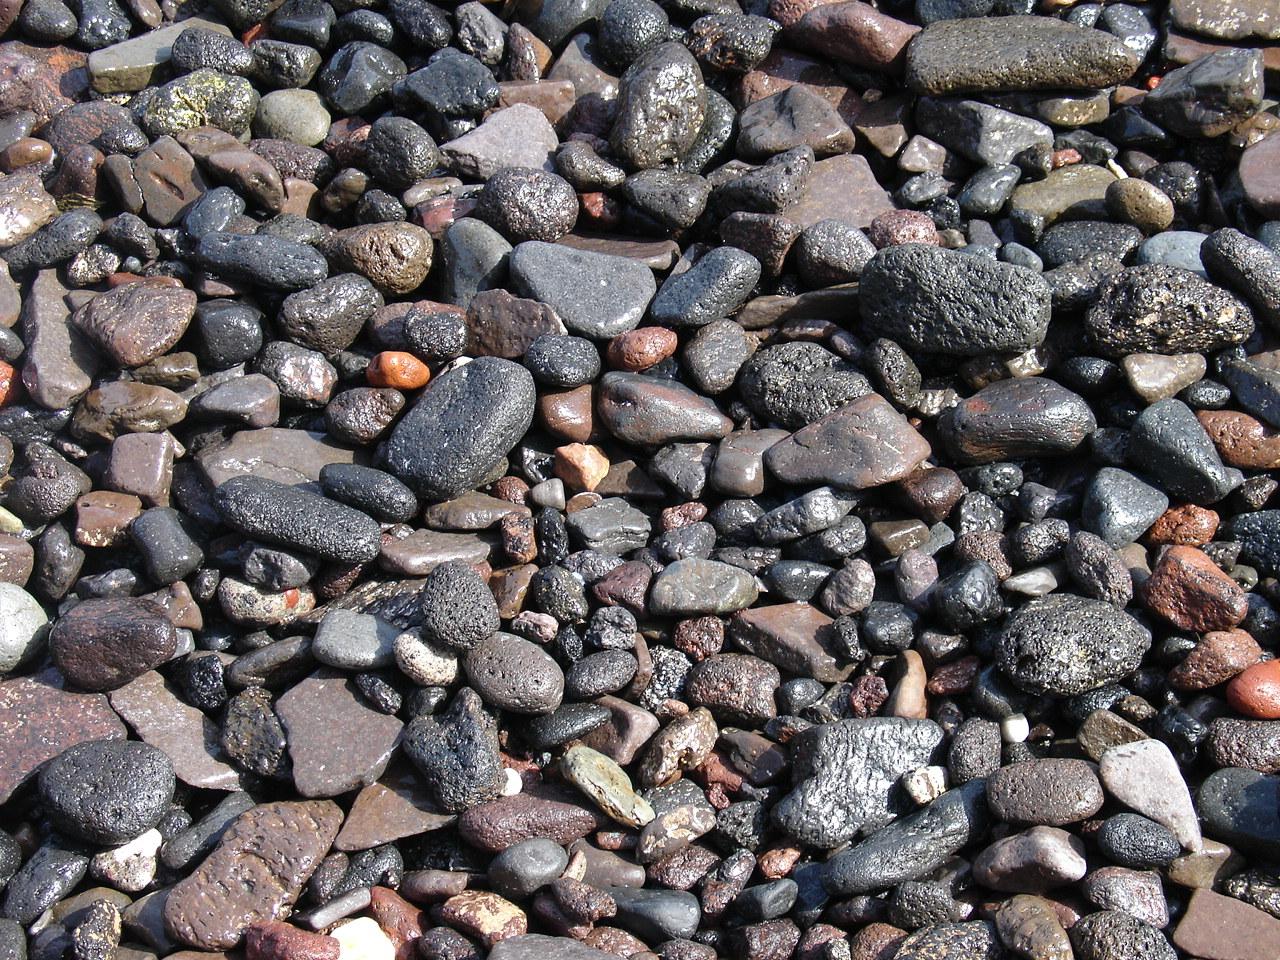
Photo: Gravel by Stan Zurek · CC BY-SA 3.0 · via Wikimedia Commons
01What people expect it to do
The intuition is straightforward and appealing. Water flows downward, gravel has big gaps, so putting gravel in the bottom should give excess water somewhere to go and keep roots out of it.
It is repeated everywhere — in books, on plant labels, by garden centre staff — and it feels like it must be true because gravel obviously drains faster than compost on its own.
The problem is that the two materials do not act independently once they are stacked. What matters is the boundary between them.
02What actually happens
Water in a medium is held against gravity by capillary action — the attraction between water and the surfaces of small particles. The finer the particles, the stronger that hold.
At the bottom of any pot there is a zone where capillary attraction balances gravity and water simply stops draining. This is the perched water table, and it exists in every pot regardless of what you do. Its thickness depends on the medium, typically two to five centimetres in ordinary potting compost.
Now add gravel. Water moving down through fine medium reaches the coarse layer and stops, because the large gaps in gravel have almost no capillary pull — there is nothing to draw the water across the boundary. The fine medium must become fully saturated before water will move into the gravel at all.
The result is that the saturated zone, instead of sitting at the bottom of the pot, now sits at the top of the gravel — higher up, right where the roots are.
03The second problem: lost volume
Even setting the physics aside, gravel takes up space that medium would occupy.
In a 20 cm pot, a 5 cm gravel layer removes roughly a quarter of the growing volume. You bought a 20 cm pot and gave the plant a 15 cm one — while carrying the weight and paying for the size of the larger.
For small pots the proportion is worse. A 3 cm layer in a 12 cm pot removes about a third of the root space, in exactly the situation where root volume is already limited.
| Setup | Saturated zone | Usable medium |
|---|---|---|
| Uniform mix, drainage hole | Bottom 2–4 cm of the pot | All of it |
| Same mix over 5 cm gravel | 5–9 cm up from the base | Reduced by the gravel volume |
| Chunky mix, drainage hole | Bottom 1–2 cm | All of it, better aerated |
| Any mix, no drainage hole | Grows with every watering | Shrinks over time |
04What actually improves drainage
All four of these address the real variables rather than the imagined one.
- A drainage hole — Non-negotiable. No layering scheme substitutes for an opening. If a decorative pot has no hole, use it as a cachepot with a plastic liner inside.
- Coarse medium throughout — Larger particles hold less water by capillarity and leave more air. This shrinks the perched water table across the whole pot instead of relocating it.
- The right pot size — One size up at a time. An oversized pot holds a volume of medium the roots cannot reach and cannot dry.
- Deeper rather than wider — For a given volume, a taller pot has proportionally less of its height in the saturated zone. This is why nursery pots are tall and narrow rather than squat.
05The exceptions
There are a few places coarse material at the bottom is legitimate, and they are all about something other than drainage.
A single layer of mesh, a coffee filter or a shard over the hole stops medium washing out. That is a retention measure, not a drainage layer, and it is thin enough not to create a boundary effect.
In very large planters, a lightweight filler — polystyrene, upturned plastic pots — is sometimes used to reduce weight and cost. It has the same physical drawback, but for an outdoor container with a big root volume the trade-off can be worth it.
Bonsai and orchid growing sometimes use a coarse bottom layer, but there the entire medium is already coarse, so the boundary between layers is minor.
For an ordinary houseplant in an ordinary pot, none of these apply. Skip the gravel and put the space into medium.
Frequently asked questions
- I already have gravel in my pots. Should I repot?
- Not urgently. If the plant is healthy, leave it and remove the layer at the next scheduled repot. If it shows signs of overwatering, repotting into a uniform mix now is worth doing.
- What about a layer of grit on top of the medium?
- That is different and often useful. A top dressing does not create a perched water table below the roots; it keeps the surface dry, deters fungus gnats and looks tidy.
- Where did this advice come from?
- It predates modern understanding of container media physics, and it survived because it feels intuitive. Soil scientists have documented the perched water table effect since at least the 1950s, but the advice keeps getting repeated.
Marcus Hale
Contributor — soil & propagation
Marcus spent six years in a wholesale nursery mixing media by the cubic metre before moving to container growing at home. He covers potting mixes, repotting and the unglamorous half of plant care.
Keep reading
Perlite vs Vermiculite: They Do Opposite Things
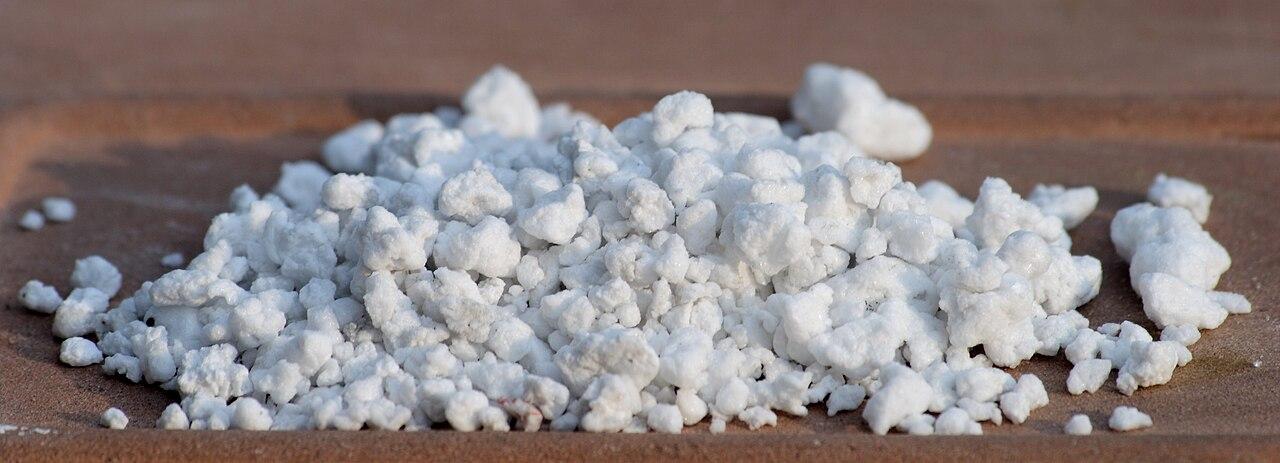
Both are white-ish mineral granules sold on the same shelf for the same price, and people treat them as interchangeable. One adds drainage; the other adds water retention.
Four Potting Mixes That Cover Almost Every Houseplant
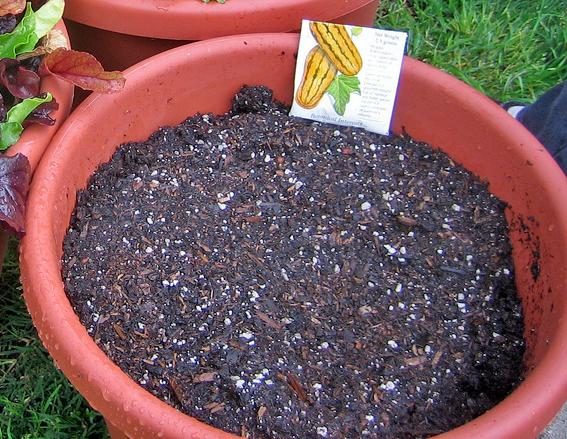
Bagged compost is designed for garden beds and outdoor containers, not for a pot indoors. Four ingredients and four ratios will serve everything on your shelf better.
Terracotta vs Plastic Pots: Does It Really Change Anything?
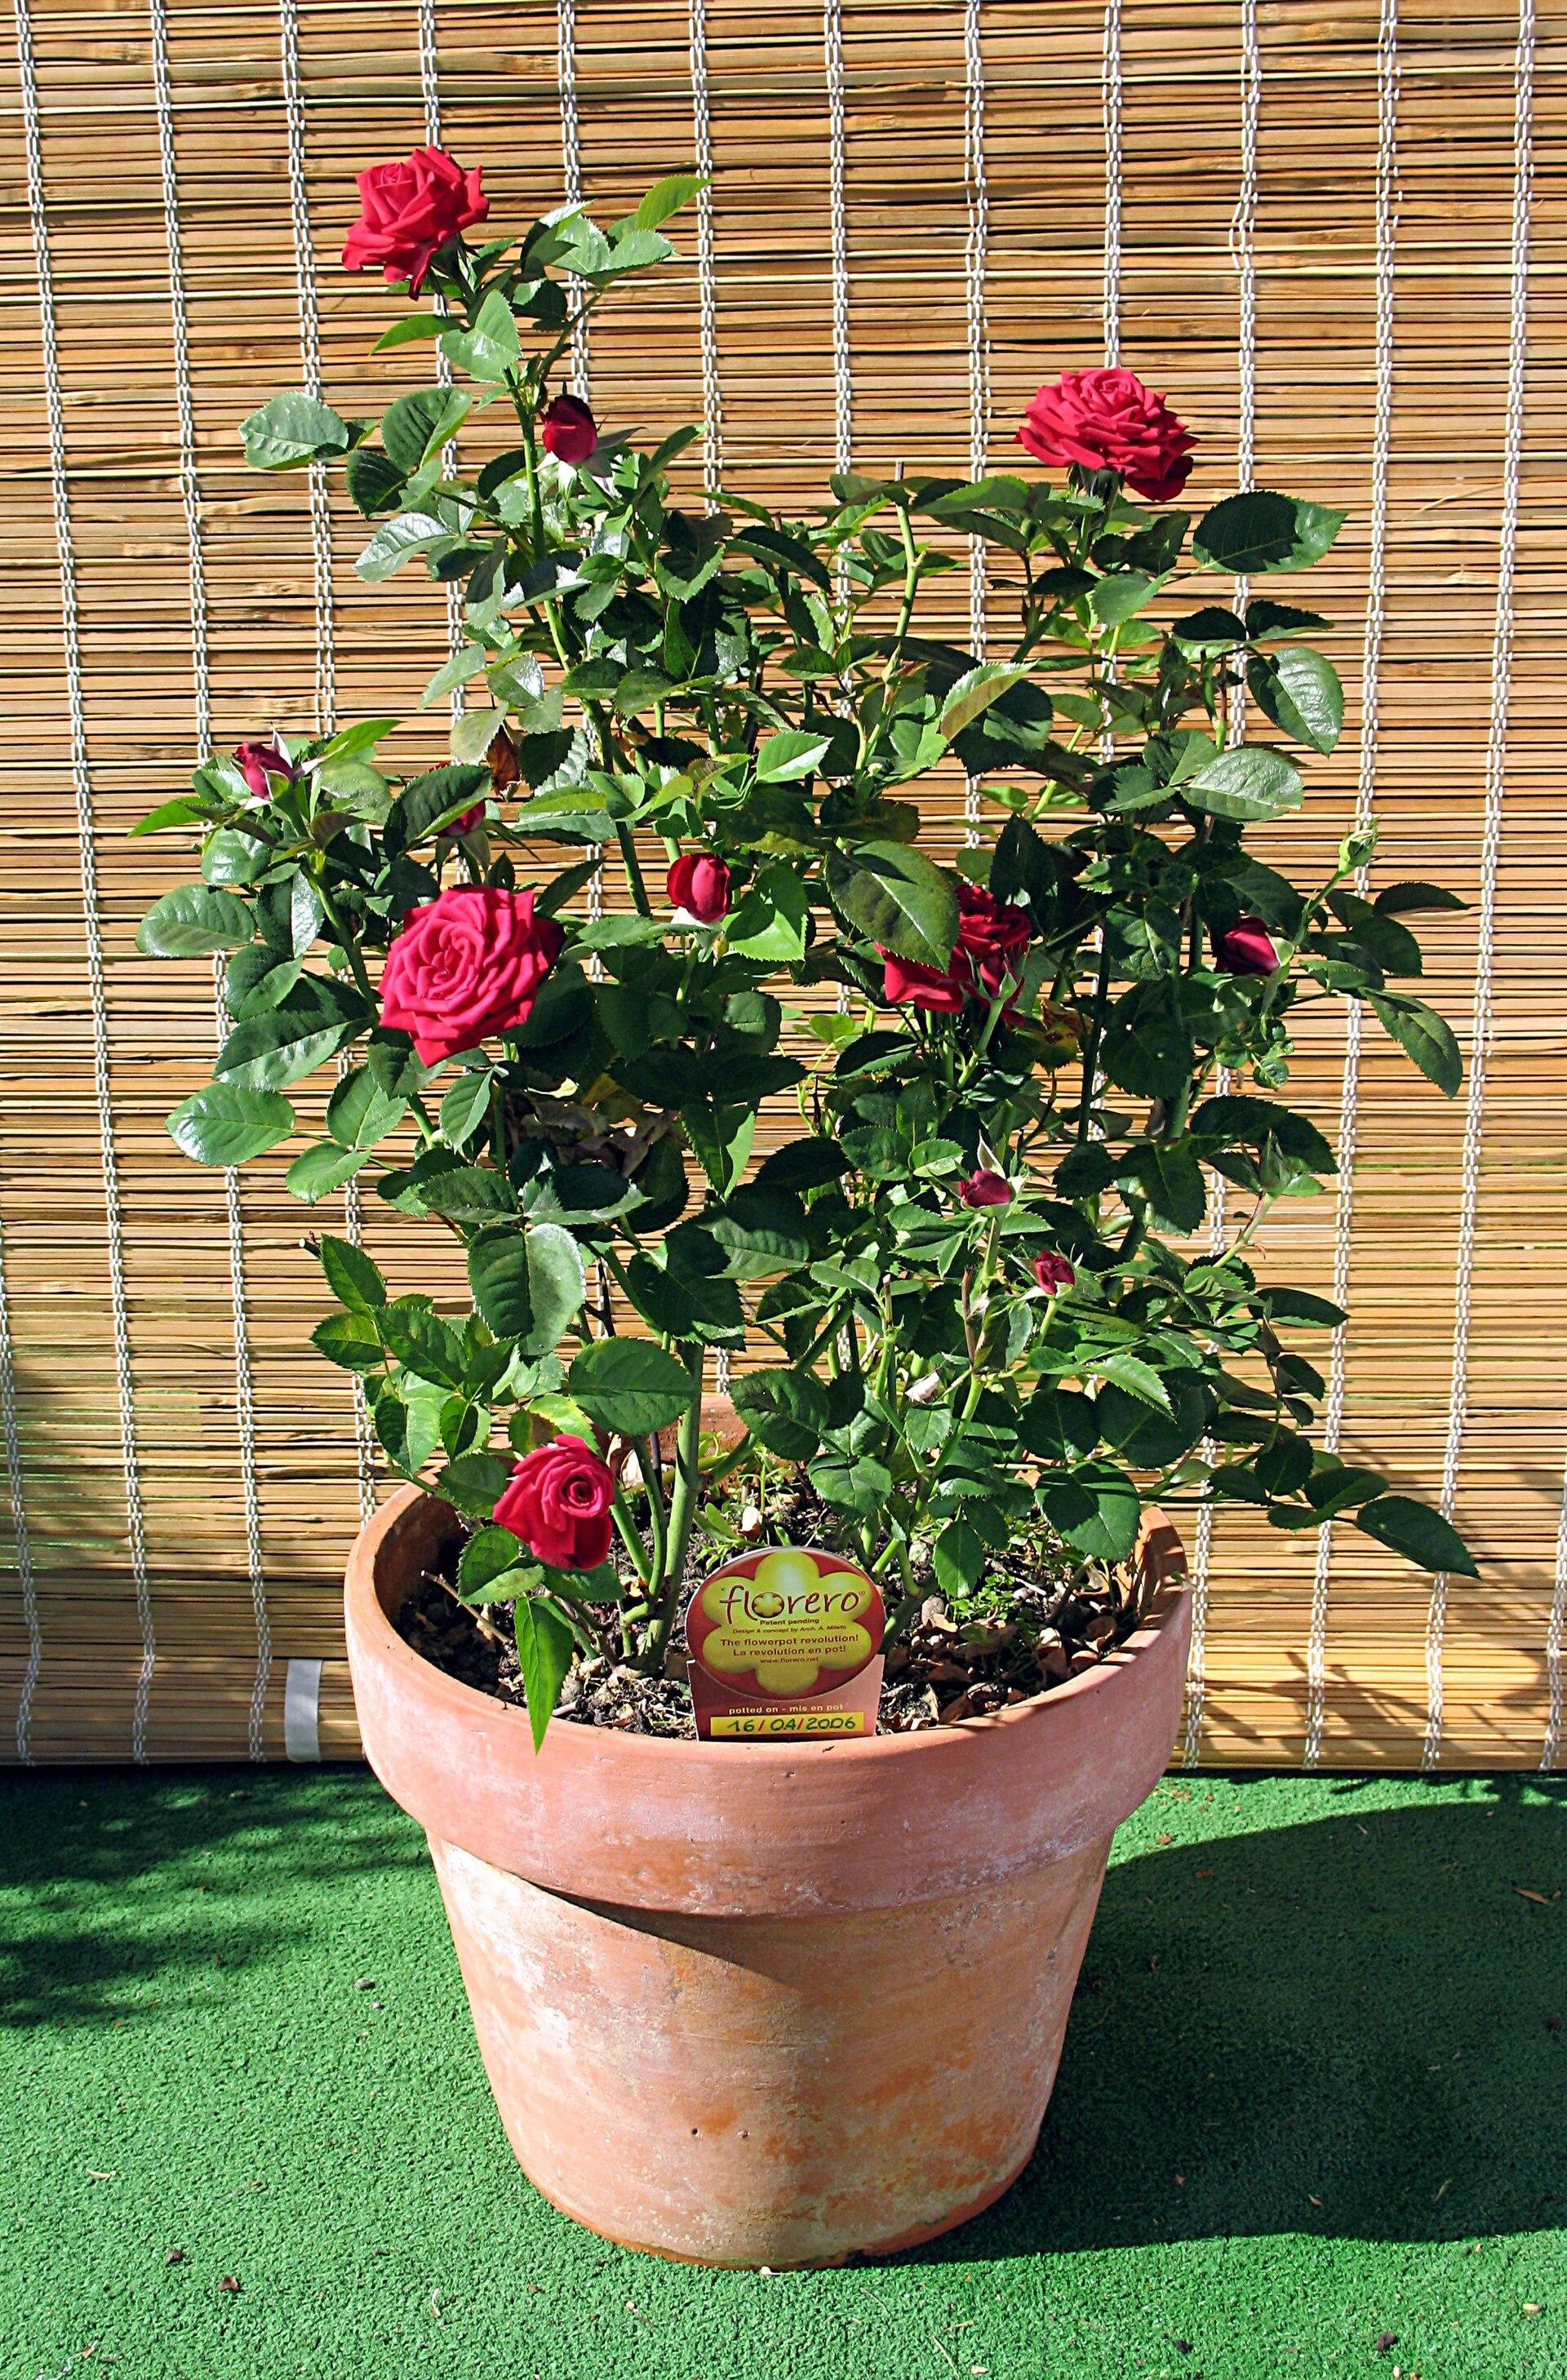
Terracotta is the aesthetic default and plastic is what your plant arrived in. The difference is not decorative — it changes how fast the medium dries, which changes your entire watering routine.